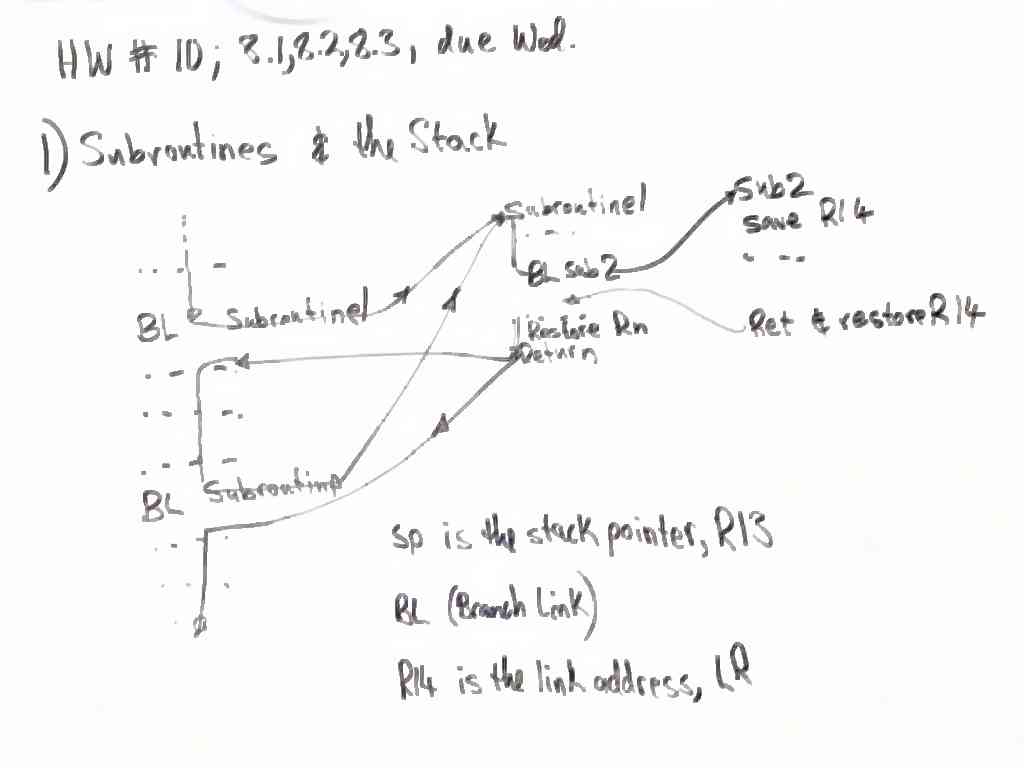

Since the turn of the century I have been taking photos of the whiteboard or blackboard during/after class for my students to use. When I was a student in a difficult class, I was often faced with a choice. I could drop my pencil and concentrate for all I was worth to try and understand what the professor was talking about, perhaps asking a question of two, or I could just copy what he wrote on the board and hope to figure it out from those notes after class. The first method worked better for me, but I ended up with no notes. With these photos, and php scripts to make the web pages I can share the class notes with my students and anyone else who is interested.
The plug-in here needs to be edited with your own directories if you want it to automatically save the processed photos somewhere special. Once it is edited, you need to put it in your ~/.gimp-2.8/plug-ins/ directory if you are using Unix or Linux, and for Windows, this is usually in C:\Documents and Settings\username\.gimp-2.6\ (you may have to enable the option "Show Hidden Files" in your file browser). Then in gimp, you will find a new option under the menu Filters->Distorts->Prepare Whiteboard. To process the photos you need to use the path tool to select the four corners of the scene you want to end up with starting in the upper left corner, proceeding to the upper right corner and then the lower right corner, and finally the lower left corner, as shown here below.
The source code for the Gimp plug-in is available here and is in the public domain.
The source code for my php scripts is available here and is also in the public domain.
My class notes are available here. The php scripts prepare them.